Galpi
Try it locally
Run Galpi on this computer without VMs to see its screens and flow. The local VM runs real bash and git in a folder.
The local VM (VM_PROVIDER=local) uses folders under DATA_DIR/local-vms/ instead of VMs. Real bash and git run inside them, and public (HTTPS) repositories are really cloned. By default the agent gives scripted answers; you can switch to the real opencode and a model (step 4). Not for production.
What you need
- Node.js 24 or later and pnpm (the version in the repository's
packageManager;corepack enablepicks it) - git, bash, Python 3 (used by the preview example)
Run it
-
Install the dependencies.
bashgit clone <galpi repository> galpi && cd galpi pnpm install -
Start the server. With
LOCAL_LOGIN_CODEevery sign-in code is that number and the first-run setup is skipped (accepted withVM_PROVIDER=localonly).bashexport SECRETS_KEY=$(openssl rand -base64 32) export VM_PROVIDER=local ADMIN_EMAILS=me@example.com LOCAL_LOGIN_CODE=123456 pnpm dev:server # :8080 -
Start the web app in another terminal. Vite passes
/apiand/internalto 8080.bashpnpm dev:web # :5173 -
(Optional) For real answers, install the opencode version Galpi pins and point to it. The model is whatever the server's
LLM_*settings say, through Galpi's relay. Restart the server.bashnpm i -g opencode-ai@$(sed -n "s/.*'\(.*\)'.*/\1/p" apps/server/src/opencode/resolved-version.ts) export LOCAL_OPENCODE_BIN=$(which opencode) export LLM_API_FORMAT=openai LLM_BASE_URL=https://llm.example.com/v1 LLM_API_KEY=sk-… LLM_MODEL=<model> -
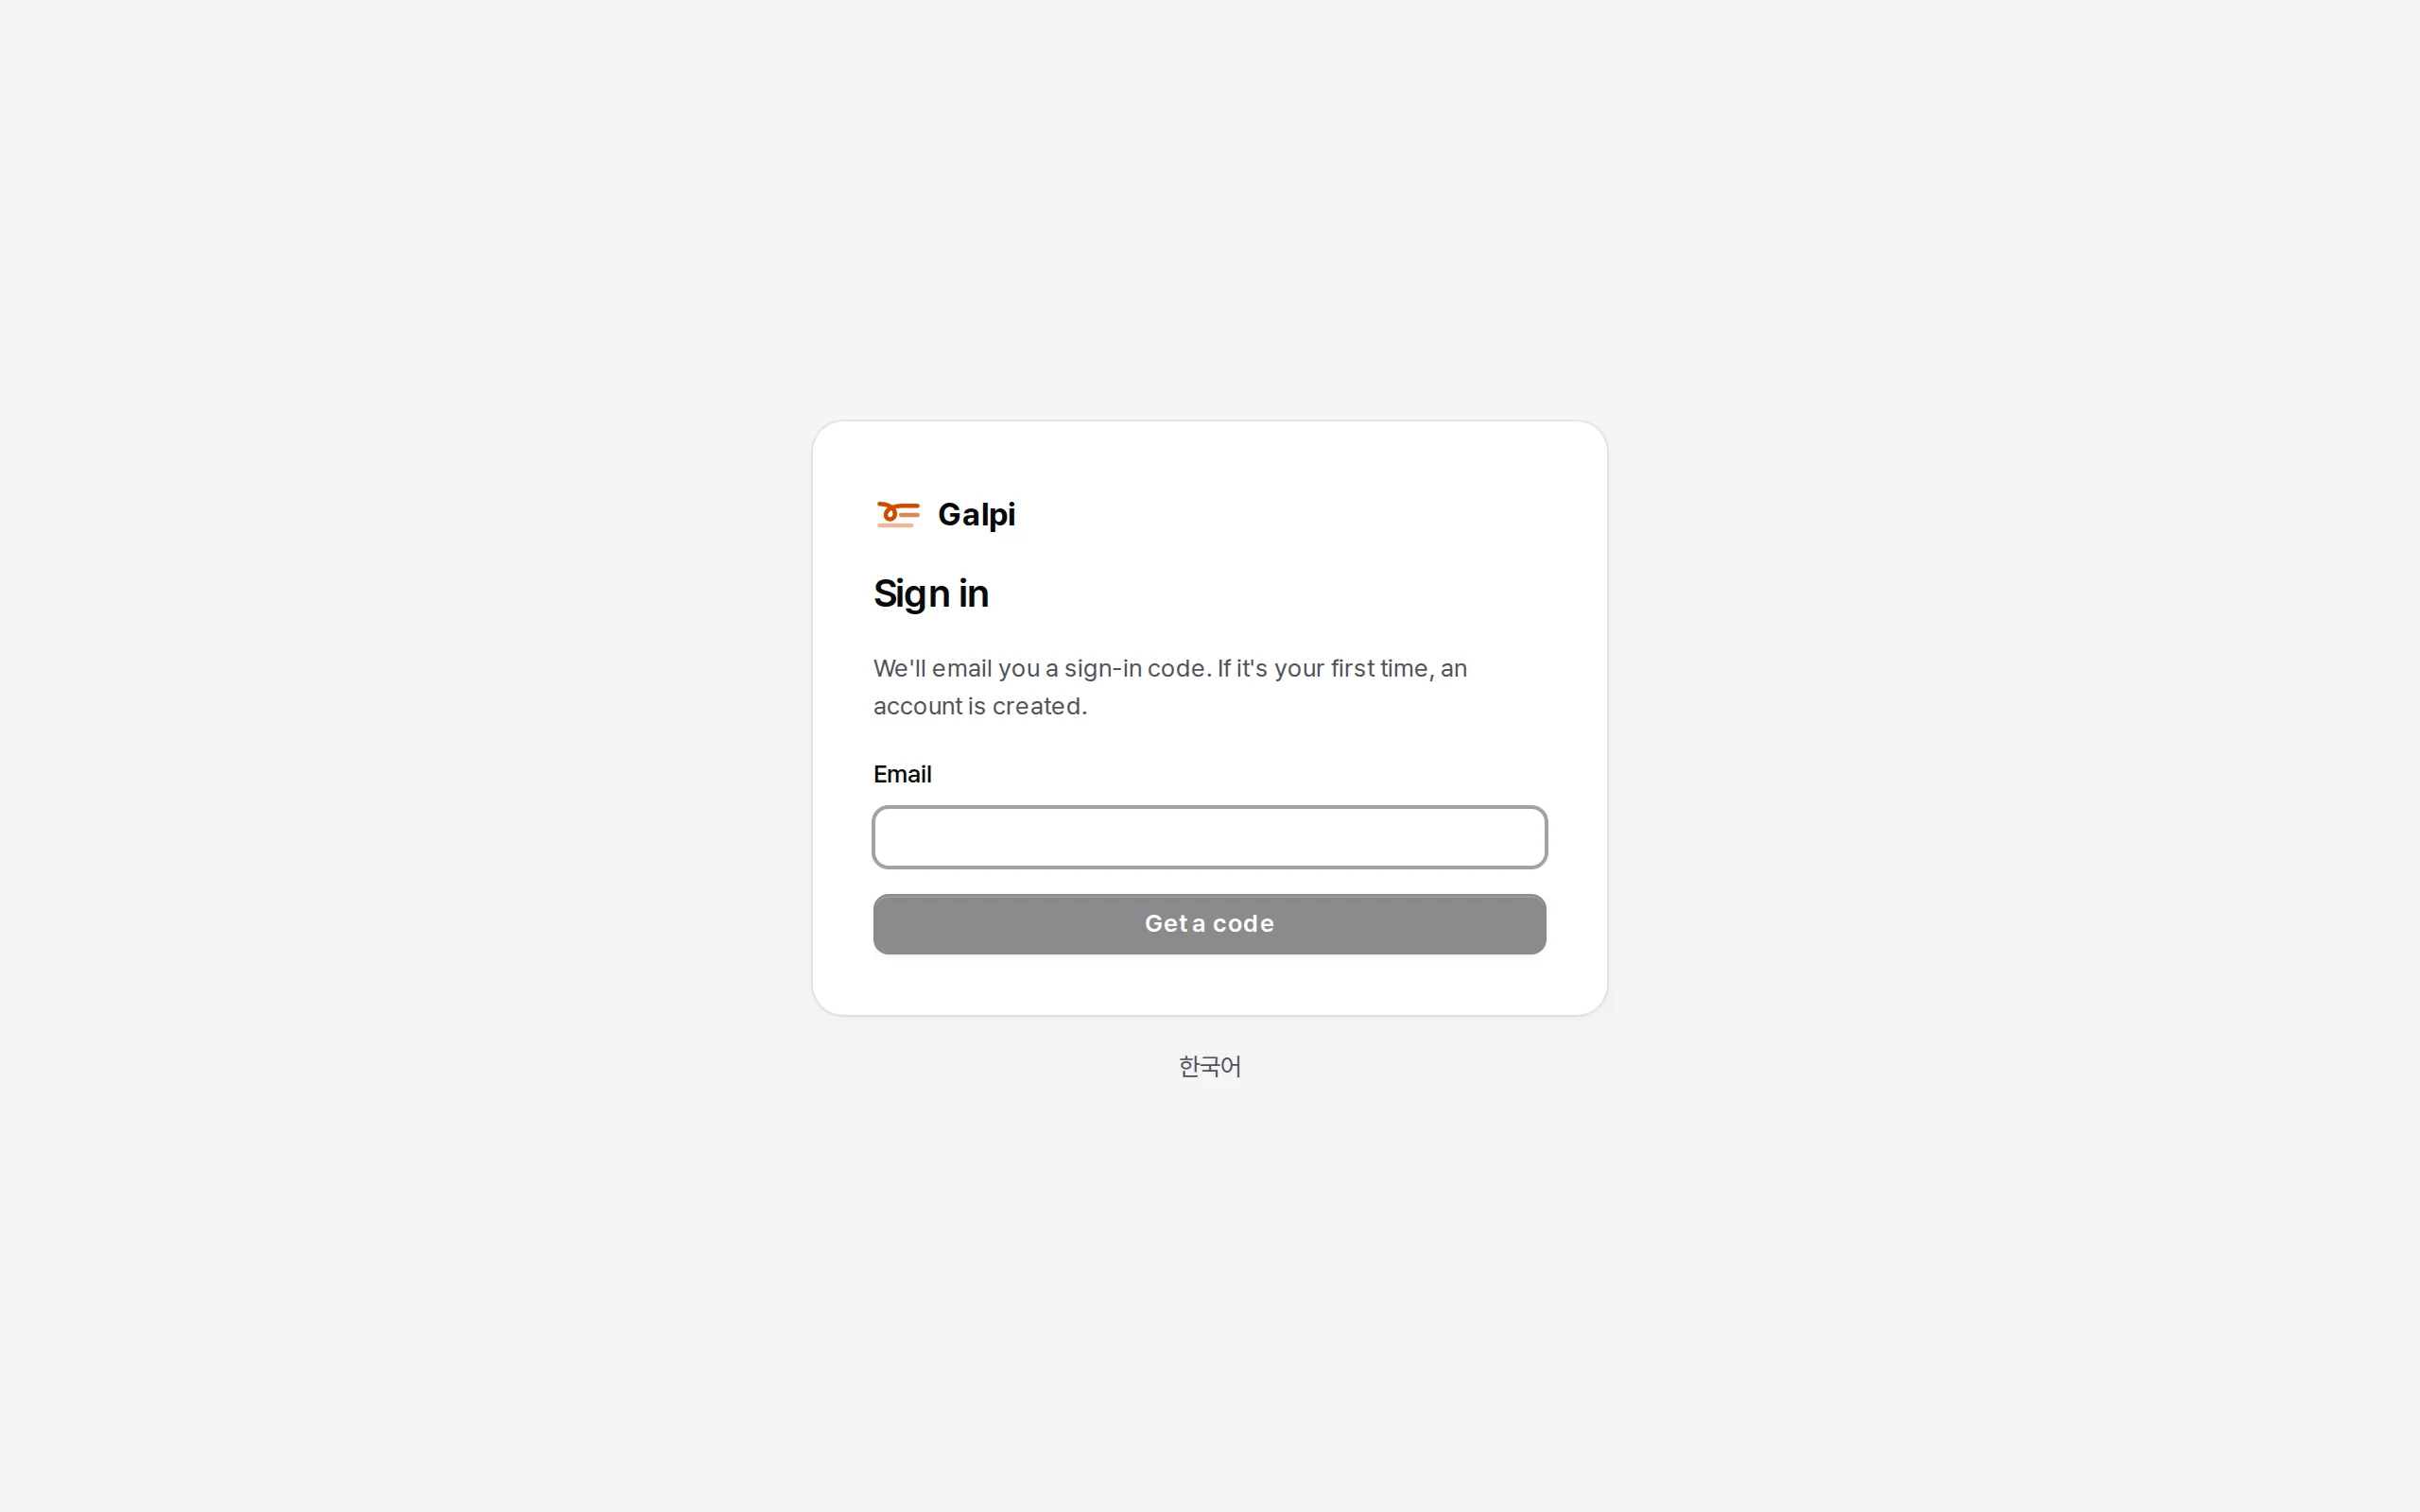
Open http://localhost:5173 and enter your email. The code is
123456(withoutLOCAL_LOGIN_CODEit is printed in the server log's[mail]block). The first time, Galpi asks what to call you.
Your first chat
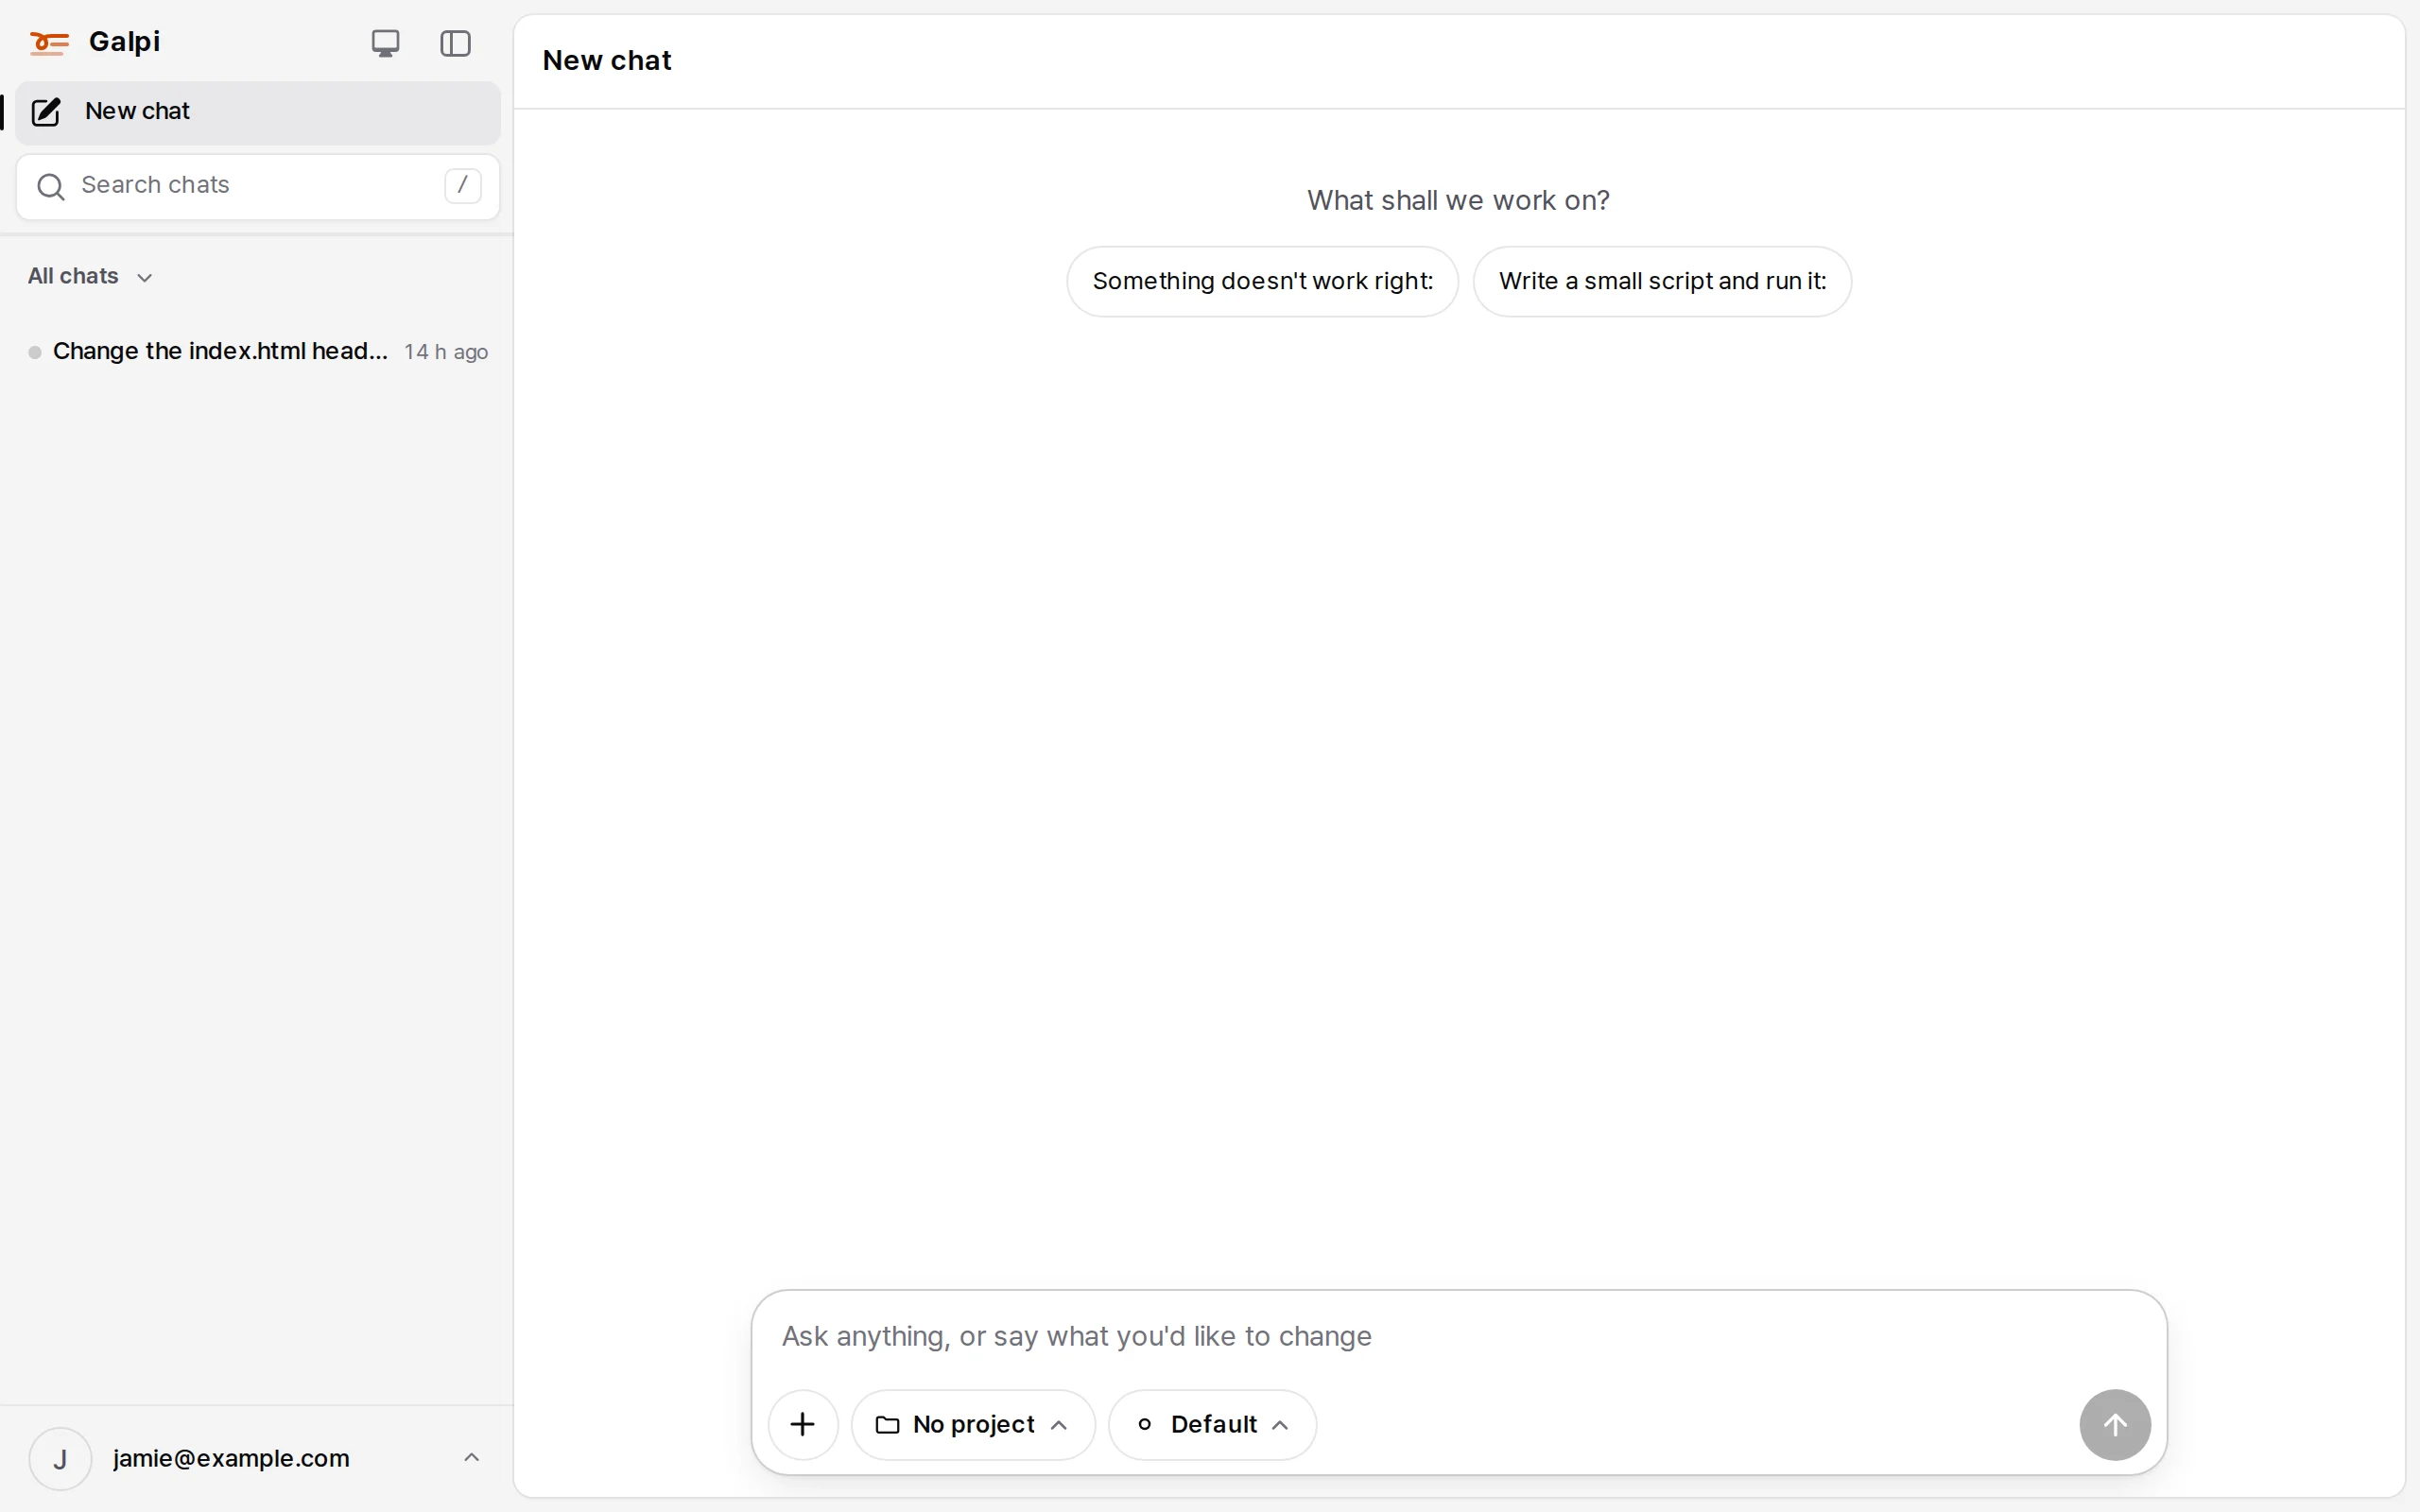
After signing in you are on a new chat. It starts with No project, so it works from files and conversation without a repository. Ask anything.
Work on a repository
- From the account menu choose Project settings and create a project (or open http://localhost:5173/projects/new).
- In the Repository step, paste a public repository (for example
https://github.com/octocat/Spoon-Knife), choose Public repository and save. Galpi connects right away and shows the default branch and latest commit. - In the project's Preview settings, enter a start command. This example is static files, so
python3 -m http.server 8080 --bind 0.0.0.0will do. - Start a new chat in that project and ask something like "change the title in index.html". When it is done, start the preview with Turn preview on above. Locally the preview is a real process on this computer at
http://localhost:<port>/.
Working on Galpi with Galpi
Use the Galpi repository as a Galpi project and a chat can run Galpi itself as its preview (.galpi/preview.yml, .galpi/preview.sh). The server runs on the local VM and Vite serves the screens, so a saved change shows at once. Sign in as an administrator with the email and code on the preview bar. Test data lives outside the checkout (~/galpi-preview).
Tests
pnpm -r typecheck
pnpm --filter @galpi/server test            # includes tests that reach github.com
GALPI_OFFLINE=1 pnpm --filter @galpi/server test
pnpm node-kit:install && npm --prefix node-kit run typecheck && npm --prefix node-kit test
pnpm typecheck && pnpm test                 # all of the above
To install on a server, see Install and set up.
getting started · first steps · run locally · development setup